
Heya painters, we’re here today on a cleanup mission. Our objective is to strip and restore this poor, unfortunate fellow, bringing him back to full glory. I usually use Games Workshop (GW) paints to keep things nice and simple, but to challenge myself and to see how they fare, I’ve decided I’ll be trying to use only cheap acrylic paints.
We’re trying stripping and painting our miniatures in the cheapest way possible. Used, abused, and restored with hobby-store craft paints.

Now this guy has a beautiful paint job. We’ve got texture, we’ve got substance. I’m really not sure we’ll even be able to properly strip this one, but let’s live life on the edge shall we. He’s an old model from eons past, when paints were gaudy and model edges were much less clean, but we’re going to give this fella our best shot.
I’ll be attempting a fairly simple and clean look, but we’re going to have to get in to some NMM (non metallic metals) for the shoulder pads and silver bits, since our £4 pack of paints seems to lack a silver, gold, or leadbelcher. I’m not an incredible painter, so I’ve likely set myself an impossible task, especially since I’ve not really done much NMM. Wish me luck.
This attempt will be an Ultramarine theme, to keep the rest of it… simple.

We’re going to also be testing whether we can make them look any good using a pack of £4 paints from the Works. Like a madman. I’m used to GW paints so we’ll have to see how useful these paints are, and what we can do with them. We’ve got the primary colours, Yellow, Red and Blue, along with a White and a Black for shading and highlights. There’s also a useless green. Extra paint people!

Since we have the primary colours along with a black and white, we should be able to make any colour or hue we want, if we’re good enough at mixing in the right proportions.
The first step in restoring this beastly lad is to strip of this thick, goopy layer of red. Depending on what type of paint this is, it may be extremely difficult, or come off with ease. We’ll find out after immersing the model in our stripping mixture! I like to use methylated spirits (denatured alcohol in the US) that I order in for cheap, and usually leave the models for 20 – 30 minutes.

Once they’ve soaked, and been turned over if necessary, I like to use an electric toothbrush to scrape the first layers of paint off. Usually, this isn’t going to work in one go, it takes several soaks and strips to achieve. But it’s certainly satisfying to see that previous mess disappear…

It may also be necessary to use a harder bristled brush to remove some of the chunks of paint stuck fast, or to get some of the harder to reach places. If this is the case I just go and give it a hard scrub over a sink I’m not afraid to get dirty.
There are always going to be hidden bits of paint when you’re stripped an old, already assembled model, but there’s little you can do about this. With some miniatures especially, impossible to reach gaps are going to make your life hell should you attempt to fully clean it.
Luckily, when we start priming the model, you can cover up any of these intruders pretty easily, just make sure you’re keeping an eye out for them.

To clean up the model further, I’m going to remove mould lines, and drill a wonderfully tiny hole into the weapon barrel. Being an older generation Space Marine, he’s got quit a few bold imperfections, so we’ve quite a lot of satisfying trimming to enjoy.
I find the citadel mould remover tool exceedingly useful here, but prefer to use a cheaper hand drill to what Games Workshop sells in stores. Their option really doesn’t meet all the drill bit sizes that this requires.

These natural mould lines are left during the resin curing process to create the miniatures, and anything not 3D printed is at least going to require some cleanup.
I also take the oppurtunity to check for any hidden paint deposits we missed during the stripping process, and usually these can just be scraped out at this point.

Using a hand file, or similar implement, it’s wise to tidy up any edges or accentuate important corners, curves, anything you want to ensure stands out when the model is painted and on display.
The hand drill is harder to use than it looks. Similar to drilling into any smooth surface, finding the initial purchase is the hardest part. You also have a very small margin of error, getting the hole to be central on the barrel.
To make this easier, start with a small drill bit, and slowly work your way up. You use the small drill bit to ensure you’re as central as possible, and to work as a guide for the larger bit. If it’s a rougher surface you can more easily grip to, this might not be as necessary.

Now for the good stuff. The painting. Or it would be, if we weren’t using the paints that we are.
Like any Ultramarine paint scheme we’re going to prime with our black. Only, this black pushes and pulls itself around like it’s high-tide on a beach. The coverage that we get with one coat, even substantially thinned, is abysmal.

Worse still, I found that if I pushed too hard with my brush, it pulled up the previous layer. Which meant a lump of half-dry black acrylic would come off, and expose the plastic underneath, even when allowed to dry for over an hour.
A possible solution to this would be to apply a layer of varnish after every coat, or every couple of coats. But for the purposes of this experiment I decided to stick with only acrylic, and attempt to be as gentle as possible applying any paint. This partly succeeded, but at several points during the rest of the model I do end up tugging all my layers of work away.

The next stage in our arduous journey is painting the blue armour.
Now, I’ve seen in the past that one of issues using cheap craft paints, is that they dry with an extremely chalky finish. The brighter the colour, the more chalky it is. With this in mind, I’m going to try and keep things on the darker side, in an attempt to reduce how chalky it ends up looking.
The problem I found when attempting this however, is that since the paint has a very low coverage, any colour I put on to black, barely showed on top. You have to apply many layers, or a brighter colour, to get a nice hue showing.

I was finding that due to how large the pigment particles are in these cheaper paints, most of what I was doing was going to end up looking streaky and chalky whatever I attempted, but hopefully more layers of colour would help reduce this effect.
Adding more and more white to layer up the armour, and delicately placing an edge highlight, it has mixed results.

The finish is very matte, as expected, but much more streaky than I was expecting. If I had used varnish to stop previous paint layers from being lifted when I applied the next, I suspect this would’ve looked much better.
As it is, it seems the paint has been lifted in spots, which gives the whole armour a very stippled kind of look.
Metallics are not my forte, Non Metallic Metals (NMM) are something I’ve only just begun to get into, and I usually have a difficult time choosing where to blend light and dark areas, let alone the blending techniques required.
However, since all we have are the yellow and red acrylics, I’m forced into the unknown. In my first attempt to create the metallic illusion, I mix yellow, red and black into a brown, and a maroon. These are what I will attempt to create shadows with, leaving a brighter yellow area the eye should interpret as gold.

I began fleshing out the bright spots, wet blending them with the shadows, doing my best to create a gradual transition. My mistake, however, was not allowing most of the model to be the actual colour of gold/pale yellow.
I created very small points of highlight, and large areas of dark. This renders not the illusion of a shiny metallic, but as my girlfriend said, ‘yellow and black splodges’.

At this point, I almost gave up and decided my skills weren’t up to the challenge. The blend wasn’t great since it was over such a small area, and the shoulders looked more black than anything else. The yellow glaze I had attempted had even somehow turned green, ruining the blend completely.
But with a few hours break, I found inspiration from an old Darren Latham article, and decided not to tap out just yet.
I changed the palette of colours I was painting the gold from to be paler, with more fleshy tones of a very pale yellow. I expanded the highlight area to make the shoulders actually look the intended colour, and I applied this to other gold parts of the model.

While not on the level of many others or masters of the craft, I thought for cheap acrylics this was the best I could manage at the moment. By expanding the bright areas of colour it looks much more convincing.
The silver metals and leathers were a breeze to go through at this point, and the challenges that the cheapness of the acrylics present are less obviously when they’re used on smaller areas. Coverage is less of an issue if there isn’t much to cover.
Instead, the main issue became getting the mostly transparent layers to show the correct colours at all, and the extent to which they changed when dry was growing ever more frustrating. It’s safe to say by this point I was beginning to miss a bit of easy quality.


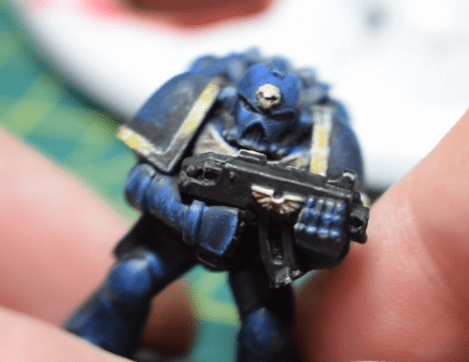
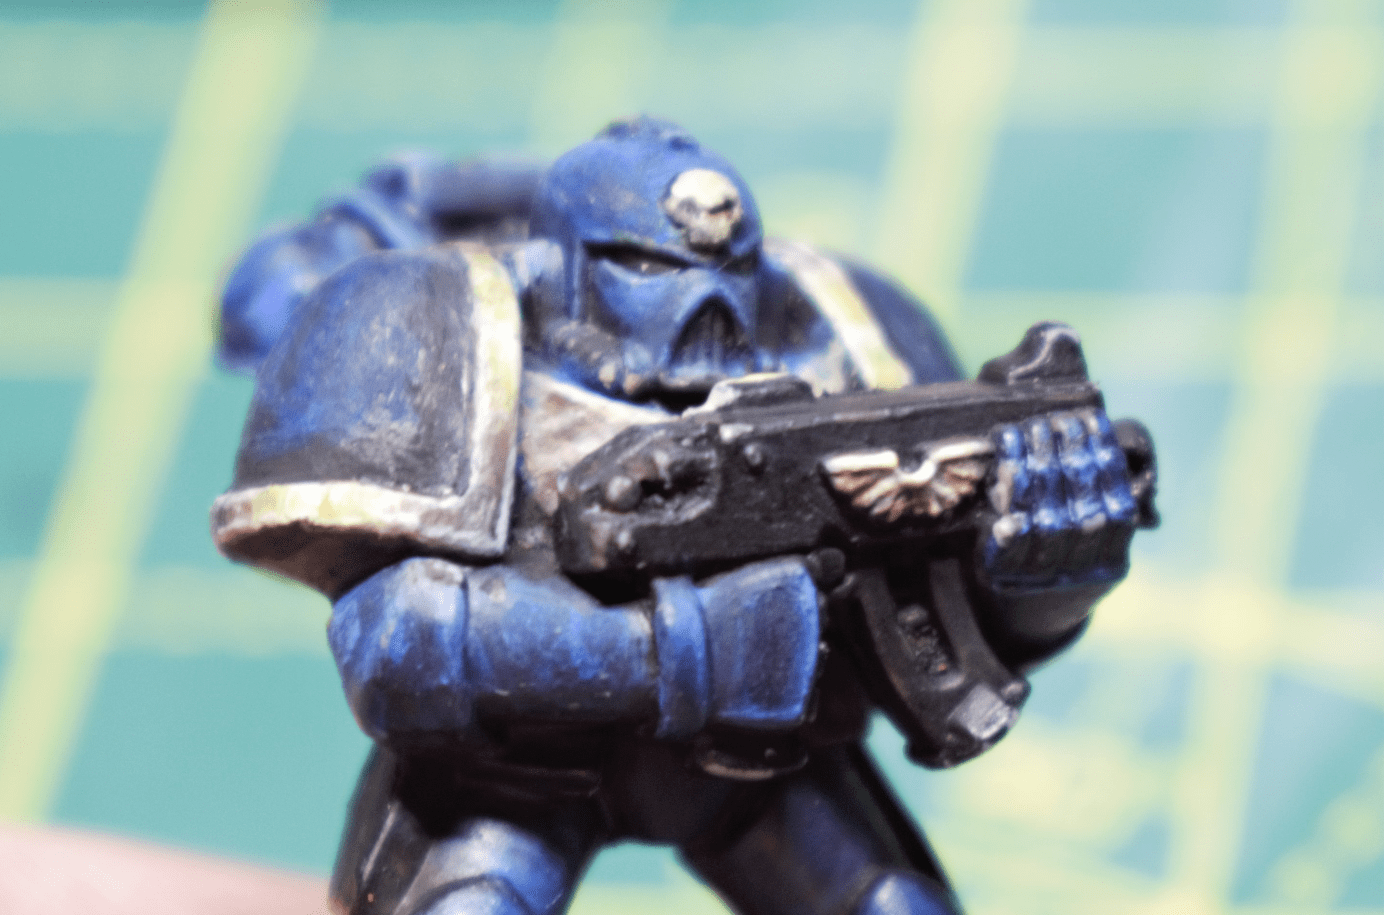
Lastly, but least, was a bit of freehand. I finished the eyes with a hearty bit of red and yellow, and began working on a tactical symbol and ultramarine chapter symbol.
Both quickly began proving difficult, mostly due to the opacity of the white paint being so transparent. This started becoming worse as texture set in, causing the finished result to seem bumpy.

To make matter worse, paint began picking up once more as I was trying to correct fine details, so the texture was getting even worse. I managed to get the rough shapes blocked in, but couldn’t figure out how to help texture at this point. So I declared it finished, a relative… success.

After basing, it might even look half decent. If you squint. From across the room.
The cheap acrylics caused me barely any problems for basing. They were almost exactly likely using something more expensive. I might even use them for painting bases when I’m trying to achieve a decent paint-job. Bases often use a lot more paint, and in most situations it doesn’t matter if it’s a little chalky. The thick-pigmented acrylics have a use!


We’ve manged to vastly improve what the model started as, and it can begin living its new life as an Ultramarine. Droopy, dipped in red paint look, begone!
If you ever need to paint a model using cheap acrylics, here are my tips:
- Varnish between some layers, mainly different colours. This will help stop paint being picked up.
- Thin the paints. Thin them hard.
- Mixing in a satin medium may help with the chalky finish.
- Stripping and painting miniatures cheap can still achieve a decent finish! Just don’t submit them to your local competitions,
If you want to read more about the site: Go here
If you want to read more about us: Click here